Code Engine & Cloudant
One of the great advantages of cloud infrastructure is that it offers the option of trying things out at zero or near-zero cost.
You can spin up services, create applications and try them out. If they don’t work or don’t get traction, you simply deprovision the infrastructure and try something else. The barrier to innovation is thus significantly lowered.
In this post, we’ll take you through a basic scenario that combines two such IBM services to build a serverless polling application:
-
IBM Cloud Code Engine is a fully managed, serverless platform that runs your containerized workloads, including web apps, microservices, event-driven functions or batch jobs. Code Engine even builds container images for you from your source code, and that is what we will be doing in this demo. The Code Engine experience is designed so that you can focus on writing code and not on the infrastructure that is needed to host the code.
-
IBM Cloudant is a fully managed, distributed database optimized for heavy workloads and fast-growing web and mobile apps. Again, the fully-managed nature of Cloudant allows you to focus on developing your applications instead of having to worry about server infrastructure and what to do if you hit the jackpot and your app goes viral.
Both of these services have generous free tiers, which means you can use them at no cost to build prototypes or a proof-of-concept.
So, let’s jump right in. It should take you no more than an hour to read this post and complete the tutorial.
The Project: Fruit Counter🔗
Fruit counter is a web app that lets its visitors pick their favourite fruit from a list of options. Once they submit their choice, they can see the current running total of fruit favourites.

Photo by Amy Shamblen on Unsplash
The fruit preference data will be stored in Cloudant and the app will be deployed to the Internet using Code Engine.
Prerequisites🔗
You will need the following:
- An IBM Cloud pay-as-you-go account.
- If you want to deploy and test your application locally (which we recommend you do to get familiar with what is going on), you will need:
-
- Access to a Mac or Linux terminal
-
- Git
-
- Node.js and npm
Step 1: Provision a Cloudant service (CloudantFruitCounter)🔗
You will need to create a Cloudant service instance and some credentials to access it from your application. To do that, follow the steps described in this document.
In the Instance Name box, call your instance CloudantFruitCounter.
Make a note of the apikey and url values of your service credentials. We will need those later.
Step 2: Create the Cloudant database (fruitcounter)🔗
Now you need to create a Cloudant database to store your fruit data. Follow steps 1 and 2 in this document.
Call your database fruitcounter.
You are now ready to store your fruit data.
Step 3 (Optional): Deploy and test locally🔗
The short version🔗
Open a terminal window. Create some environment variables to access the Cloudant database using the values you obtained when creating the service credentials:
export CLOUDANT_URL=<your_url>
export CLOUDANT_APIKEY=<your_key>
export DBNAME = "fruitcounter"
(If you use the above url and key variable names, the Cloudant SDK will find them in your environment without the need for any additional code.)
Clone the repo, install all the dependencies and then start the server:
git clone https://github.com/danmermel/fruit-counter
cd fruit-counter
npm install
npm run start
Now, open a browser and visit http://localhost:8080.
You should be able to pick your favourite fruit, submit your choice and see the running total of picks.
A bit more info🔗
The application is a very simple Node.js application. It uses two main packages:
- @ibm-cloud/cloudant to connect to IBM Cloudant and read/write data.
- Express to enable a simple web server that allows users to submit their choice of fruit and see a running total of our data.
There are two main files:
server.js: This runs the web server and communicates with Cloudant. When the frontend submits a fruit choice to the /fruit route (see below), the app.route function stores a new document in Cloudant with the fruit choice and then reads back the running total to return to the frontend.
The read operation uses a Cloudant design document and a MapReduce view to aggregate documents. This is beyond the scope of this tutorial, but you can read more about views and design documents here.
index.html: This is the one and only page of the application and is using the Vue.js framework. When it loads, it will show you the available fruit options.
When you submit your choice it will make an HTTP POST request with your choice to the /fruit route of the application (see above). A successful return from the application will contain the running total of fruit choices (including yours), which will be displayed.
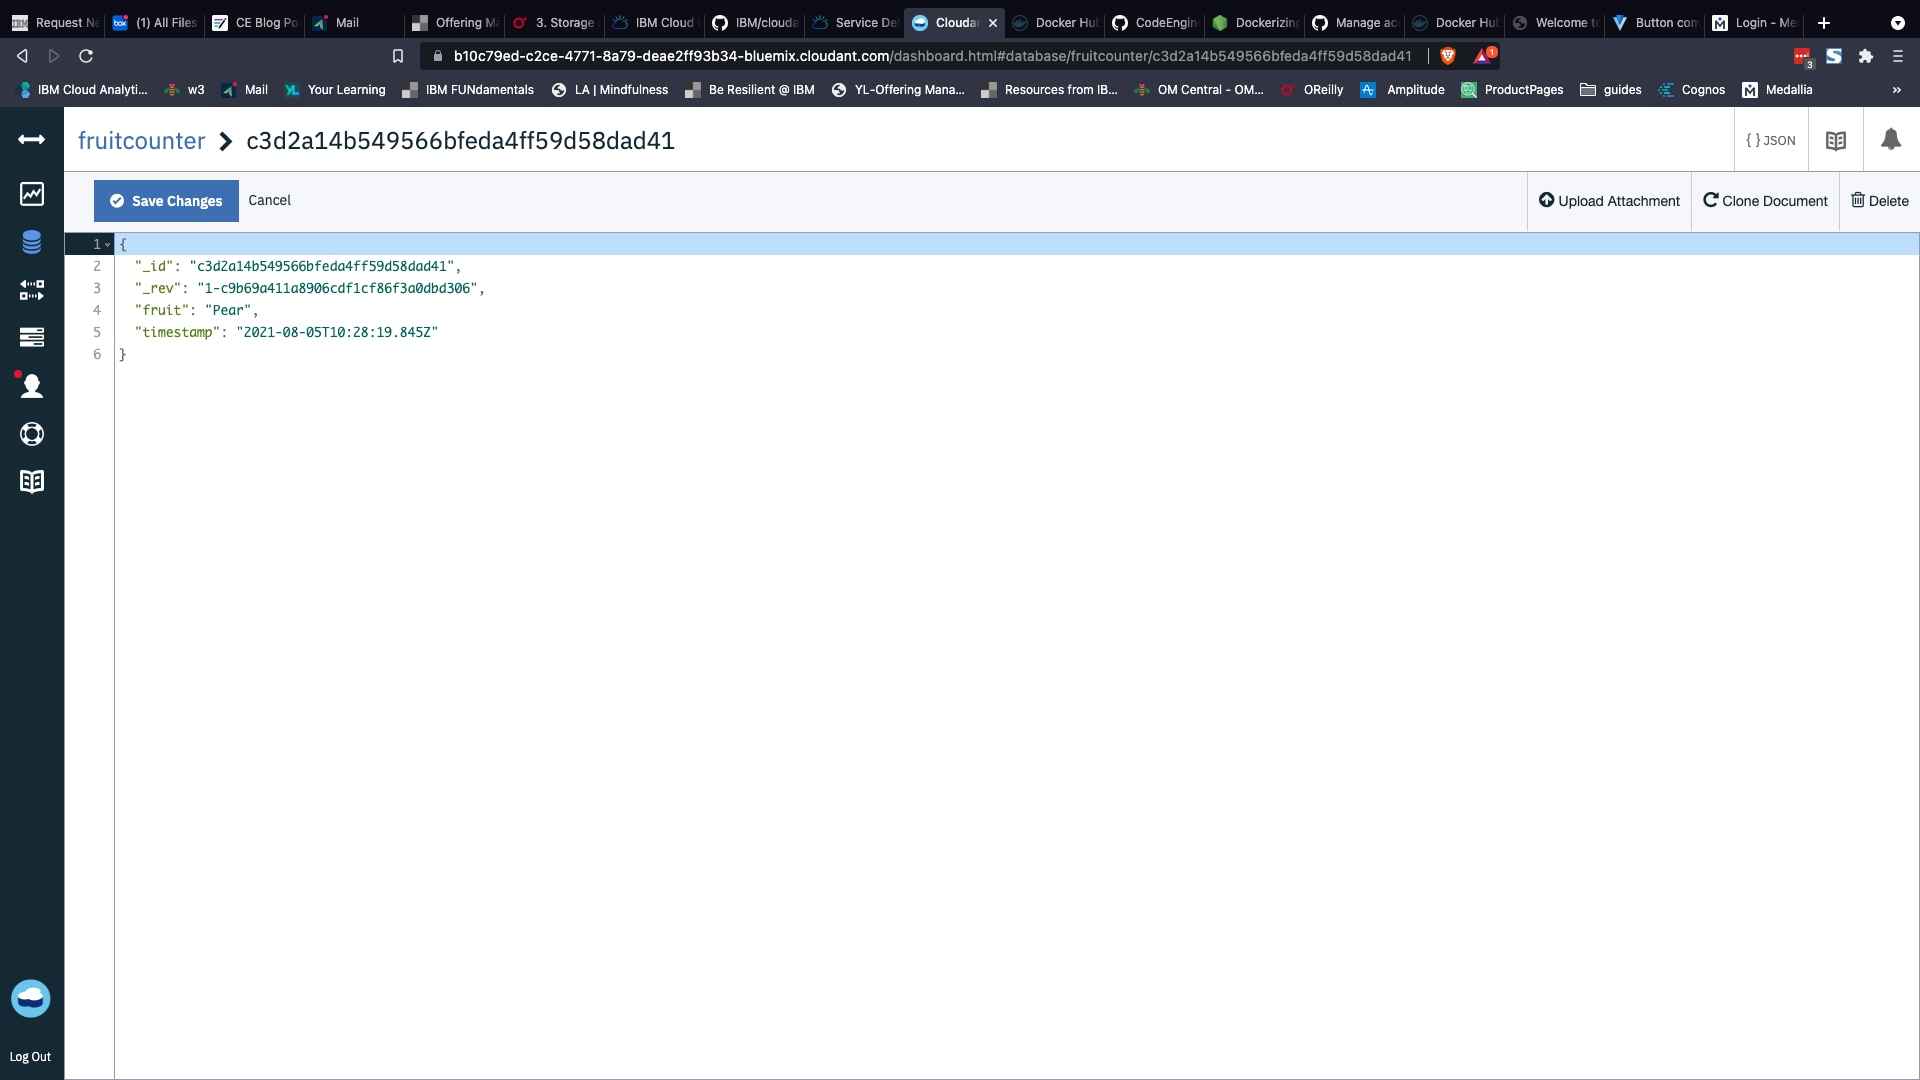
If you navigate to the Cloudant console and find your database you will see some documents like this one:

As you can see, your choice of fruit was added with a timestamp. Cloudant created a unique ID for this document.
Step 4: Deploying to IBM Code Engine🔗
So far, so good; but as this is running locally, only you can pick your favourite fruit. Now we want the whole internet to choose their fruit as well — this is where Code Engine comes in.
In a former life, if you wanted to deploy this app to the Internet, you would have had to do the following:
- Buy a server and wait two weeks for it to be delivered.
- Plug it in and find a way of connecting it to the Internet.
- Log into it and deploy your code and all its dependencies.
- Run the code.
- Spend hours of your day making sure it is still up and running and deciding whether or not you need to buy more servers and repeat all the steps above as your app becomes popular.
- If your app became popular, you’d have to buy and provision more servers and set up a load balancer — or, preferably, multiple load balancers — to handle your application’s traffic.
- And let’s not forget that you would be responsible for securing the server and making sure it stays compliant.
No longer. Code Engine manages all the deployment and scaling for you if you just tell it where your code is. It does this in two steps:
- It creates a container image with your code and saves it in a container repository (known as a registry). Containers are executable units of software in which application code is packaged, along with its libraries and dependencies, in common ways so that it can be run anywhere.
- It then takes this image and deploys it to IBM’s Cloud infrastructure. It will deploy as many or as few of these images as you specify to cope with peaks and troughs in demand. Additionally, with Code Engine, you can have it auto-scale the number of instances for you based on the amount of incoming traffic it receives. And it’ll even scale down to zero instances if the application is idle.
To deploy your code with Code Engine, follow these steps:
- Open the Code Engine console.
- Select Start creating from Start from source code.
- Select Application.
- Select a project from the list of available projects. You can also create a new one. Note that you must have a selected project to deploy an app. You can read more about projects here.
- Enter a name for the application. Use a name for your application that is unique within the project.
- Select Source code.
- Click Specify build details.
- Select https://github.com/danmermel/fruit-counter for Source repository and main for Branch name. Click Next.
- Select Dockerfile for Strategy, Dockerfile for Dockerfile, 10m for Timeout and Medium for Build resources. Click Next.
- Select a container registry location, such as IBM Registry, Dallas.
- Select Automatic for Registry access.
- Select an existing namespace or enter a name for a new one — for example, newnamespace.
- Enter a name for your image and optionally a tag.
- Click Done.
- Open the Environment Variables section. You will need to add three of these (click Add for each):
- Name: CLOUDANT_URL Value: <your_url> (From the Cloudant service credentials step above)
- Name: CLOUDANT_APIKEY Value: <your_apikey> (From the Cloudant service credentials step above)
- Name: DBNAME Value: “fruitcounter”
- Click Create.
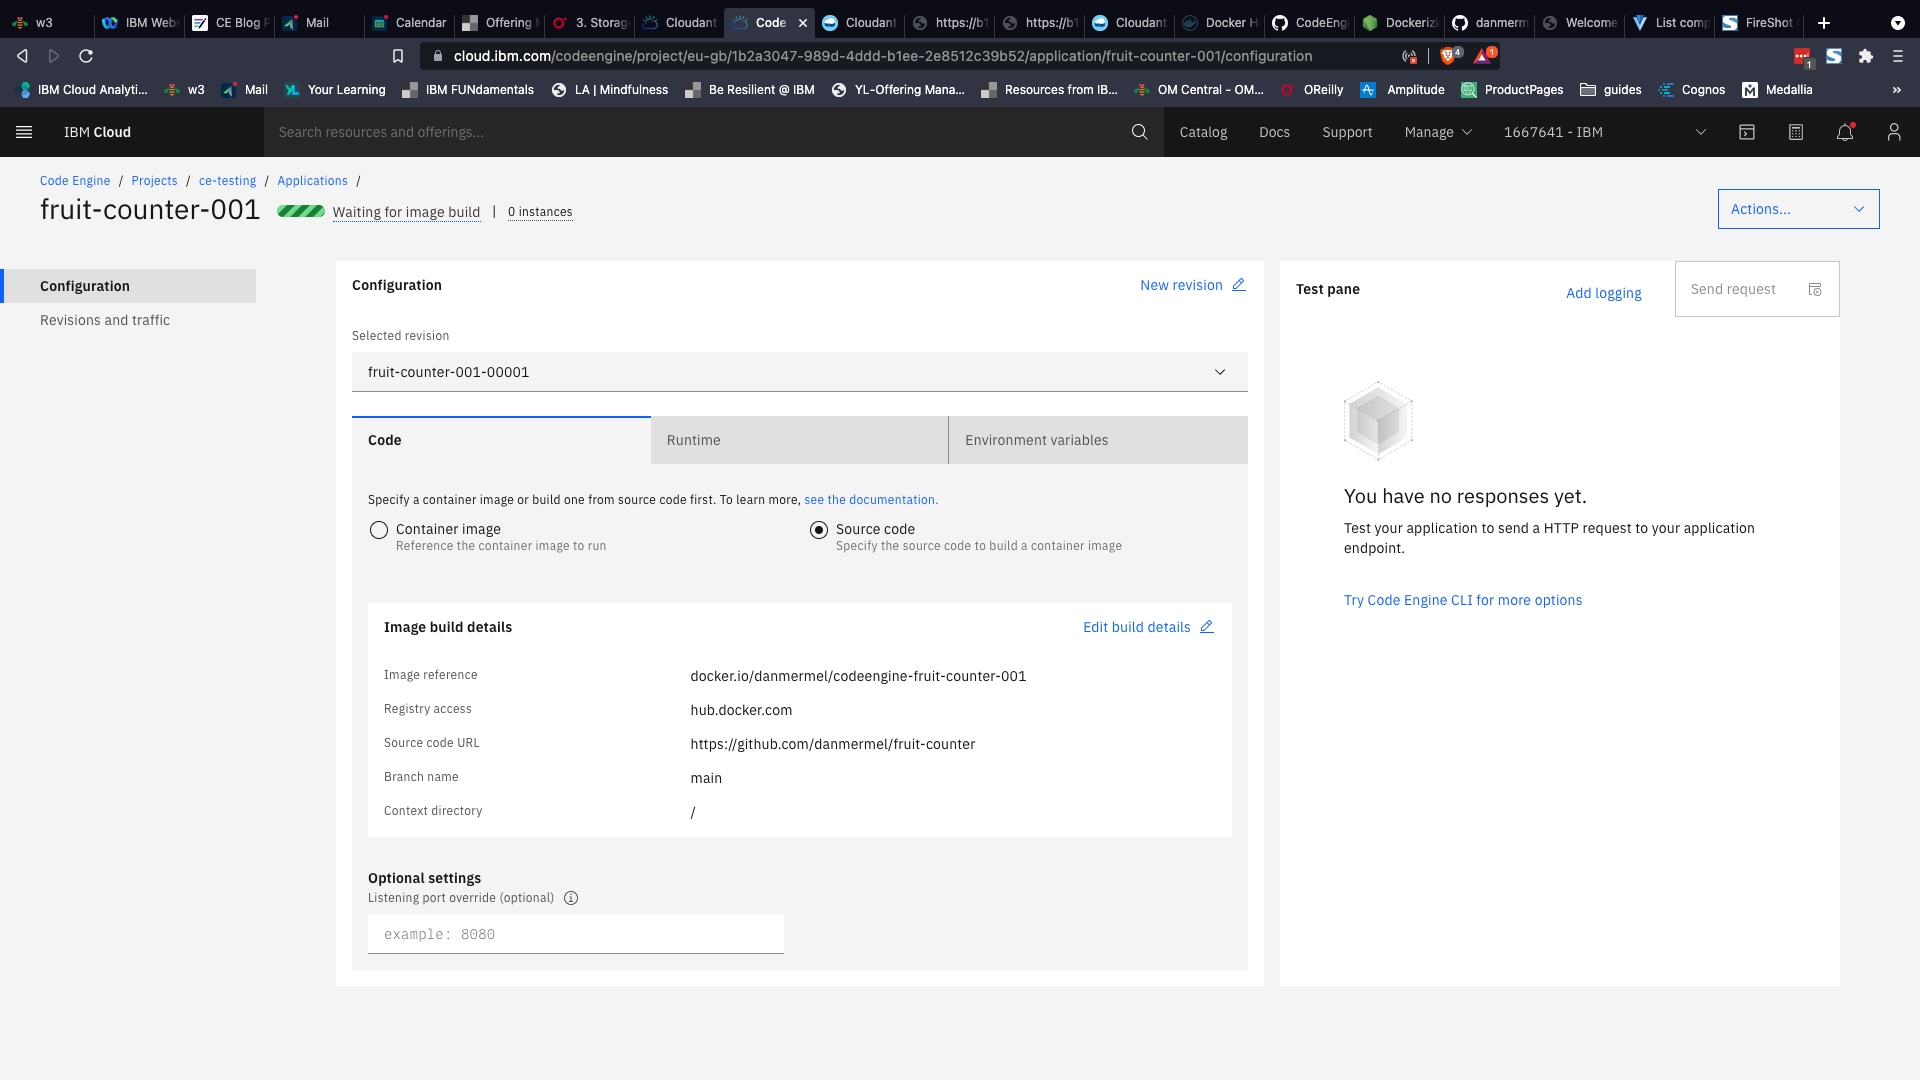
You will see a message like this, telling you that your assets are being created:

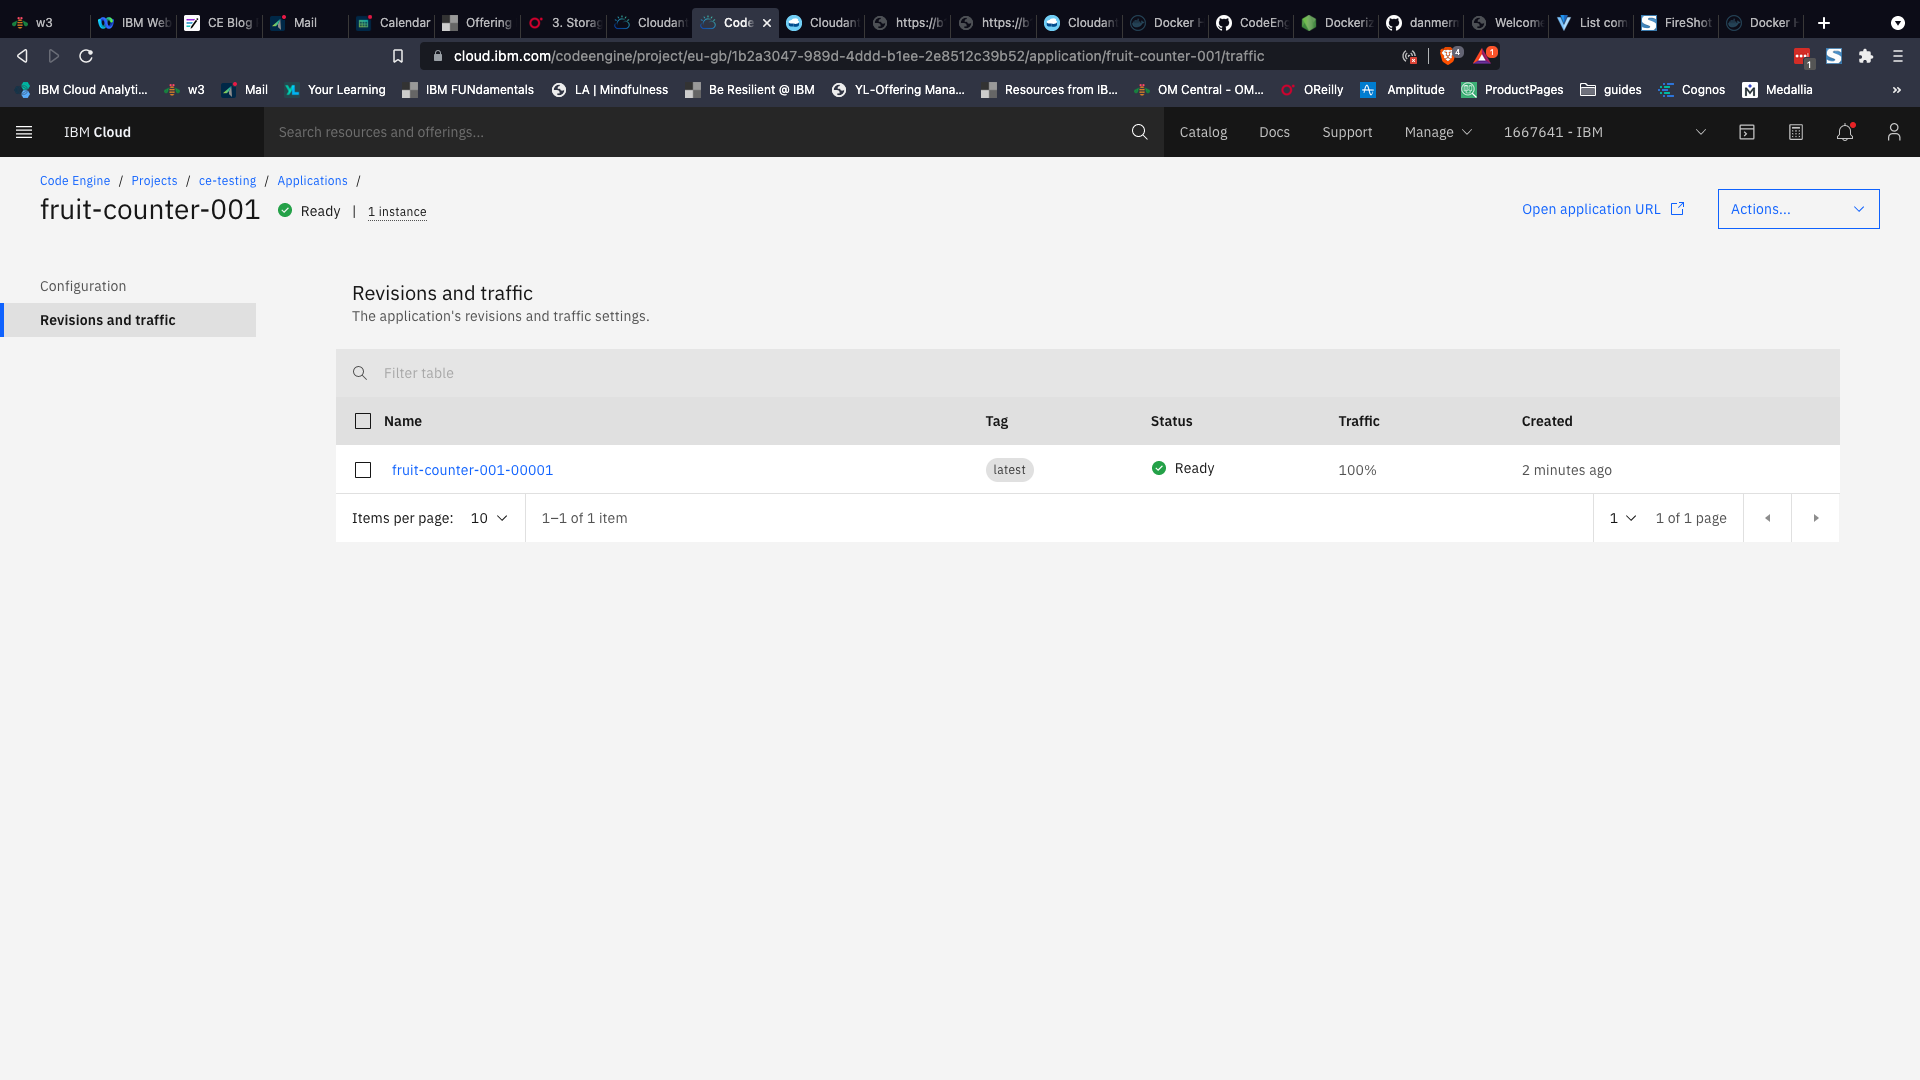
When it is finished, you will see a Ready message:

Click on Open Application URL.
You should see the fruit picker application on the web. Go ahead, pick your favourite fruit and submit. You should see the running total of fruit choices.
If you refresh the page and submit another choice, you will see the relevant counter incrementing.
Slow start🔗
You may notice that the first time you visit the application URL (or after you haven’t used it for a while) it takes a while to display. This is because Code Engine is creating and starting the first instance of your application there and then. After a period of inactivity, this instance is deprovisioned and the next visitor has to start again. This is very cost-effective (you only pay while the instances are up and running), but may not be practical for applications that need to respond in milliseconds even on the first request, like a business intelligence dashboard.
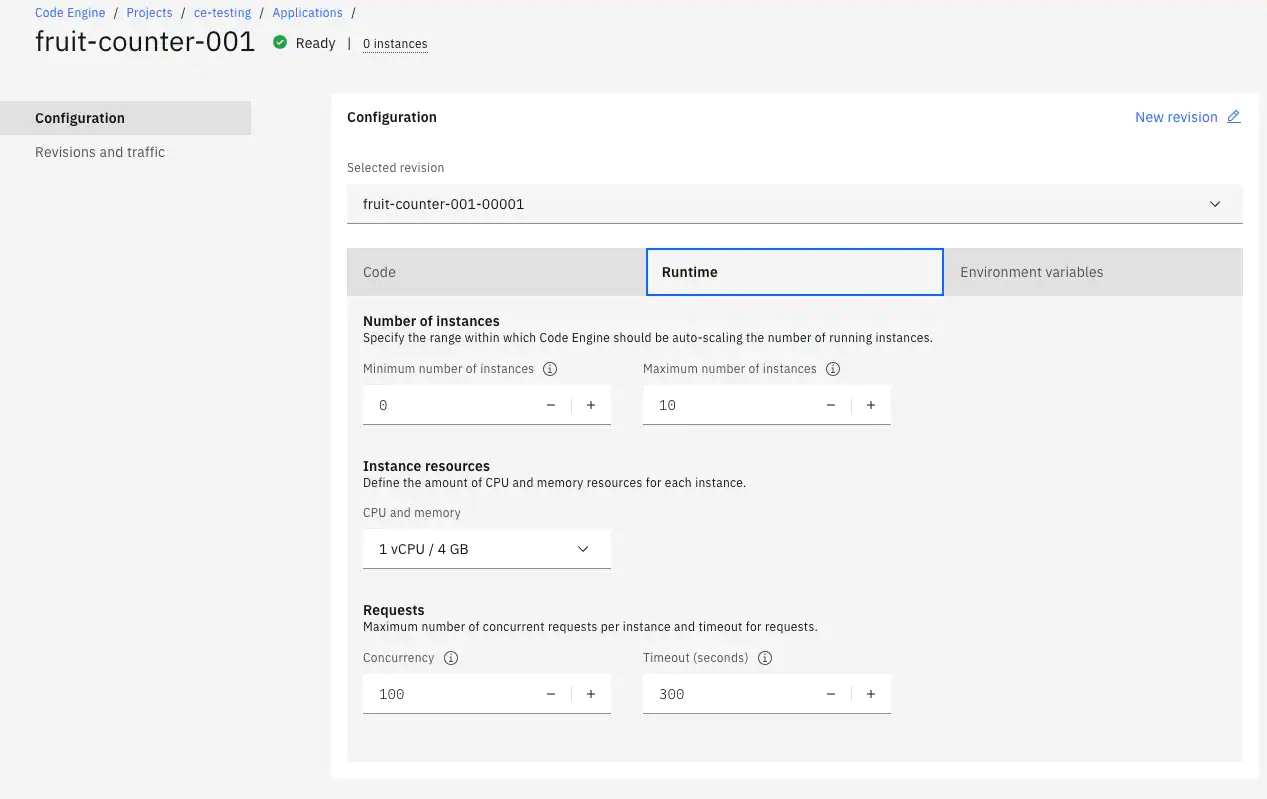
You can modify the minimum (and maximum) number of instances in the Runtime section of the Cloud Engine dashboard:

If you set it to a minimum of one, there will always be at least one instance of your application ready to receive visitors, but you will eventually run out of free tier vCPU seconds and will start to pay for your deployment.
The Dockerfile🔗
There is one file in the project that we’ve glossed over: the Dockerfile. For those familiar with the way containers work, this file needs no explanation. For those who are not, the Dockerfile is the “recipe” that is used to create the container that will host and run your application. The Dockerfile in this project is very simple — it says that the container should be created using a starting configuration (base image) that supports Node.js version 14; that it should run the application from a certain directory (/usr/src/app); that it needs to copy all the application files into that directory and install all the dependencies (npm install); that it should listen for traffic on port 8080; and, finally, that it should start the application by running the following command:
npm run start
Code Engine uses this set of instructions to build the container that runs your application.
Service bindings🔗
The way we connected the Code Engine and Cloudant services together is good for allowing a simple way to run the application locally and generally demonstrating how things work. For more real-life secure implementations, however, it is probably better to use “service bindings” when combining IBM services together. That is beyond the scope of this tutorial, but you can read more about service bindings here.
Summary🔗
In this tutorial, we have combined two IBM Cloud services to create an application that can capture, store and retrieve data from the IBM Cloudant database service. This application can then be deployed to the internet using IBM Code Engine in a way that is scalable and secure.
Both Cloudant and Code Engine have generous free tiers, so we encourage you to use these to prototype and try out your ideas. You have, quite literally, nothing to lose!